Showing posts with label Etsy. Show all posts

3.25.2013

Tutorial: Fabric Coasters

Yesterday I made the decision to make myself some coasters. My drinks "sweat" a lot here in New Orleans and my tables are not a fan of this. I have collected a lot of fun fabrics and figured this would be a great "stash buster" as some like to call it.

Materials:

fat square cotton fabric (2 colors if you'd like the front and back to be different)
batting
thread
cutting mat
rotary blade
scissors
sewing machine
thread
iron/ironing board
pins


Step 1

Wash your fabric. Washing your fabric first prevents shrinkage and awkward stitching after everything is said and done.

Step 2

Iron all your fabric. Washing your fabric will cause it to become a little wrinkly. If it's being stubborn, spray a little water on it and continue to iron.

Step 3

Cut your fabric and batting. You'll need your fabric and batting squares to measure 4 1/2" x 4 1/2"


Step 4

Pin your fabric together. Place your 2 pattern fabrics together with right sides facing each other. On top, then place your batting and pin along each side.


 Step 5

Sew around your fabric using a 1/4" allowance. Be sure to leave a gap of at least 2 inches so you can flip it right side out. I recommend back stitching at the beginning and end to ensure the stitches stay put and don't unravel when you are turning it right side out.


Step 6

Trim the edges of your fabric. Start by cutting the corners off then trimming any excess on the edges. Do NOT trim the excess where your opening is. You will need this fabric length to close up the hole. Turn it right side out.


Step 7

 Carefully pin shut the hole and top stitch around using a 1/4" allowance. I decided to go back and add a 1/8" allowance stitch as well. This is not necessary, just cosmetic!


Step 8

Because we are using batting, the coasters turn out plump or fluffy. You will need to press them (iron them) in order to make them flat and stiff.


I love how they turned out! I can't wait to make more! These will make excellent gifts for people!


6.09.2011

Wow!

I'm still having some issues with blogger...I have to be creative to log in! INSANE! I hope this gets fixed soon!?

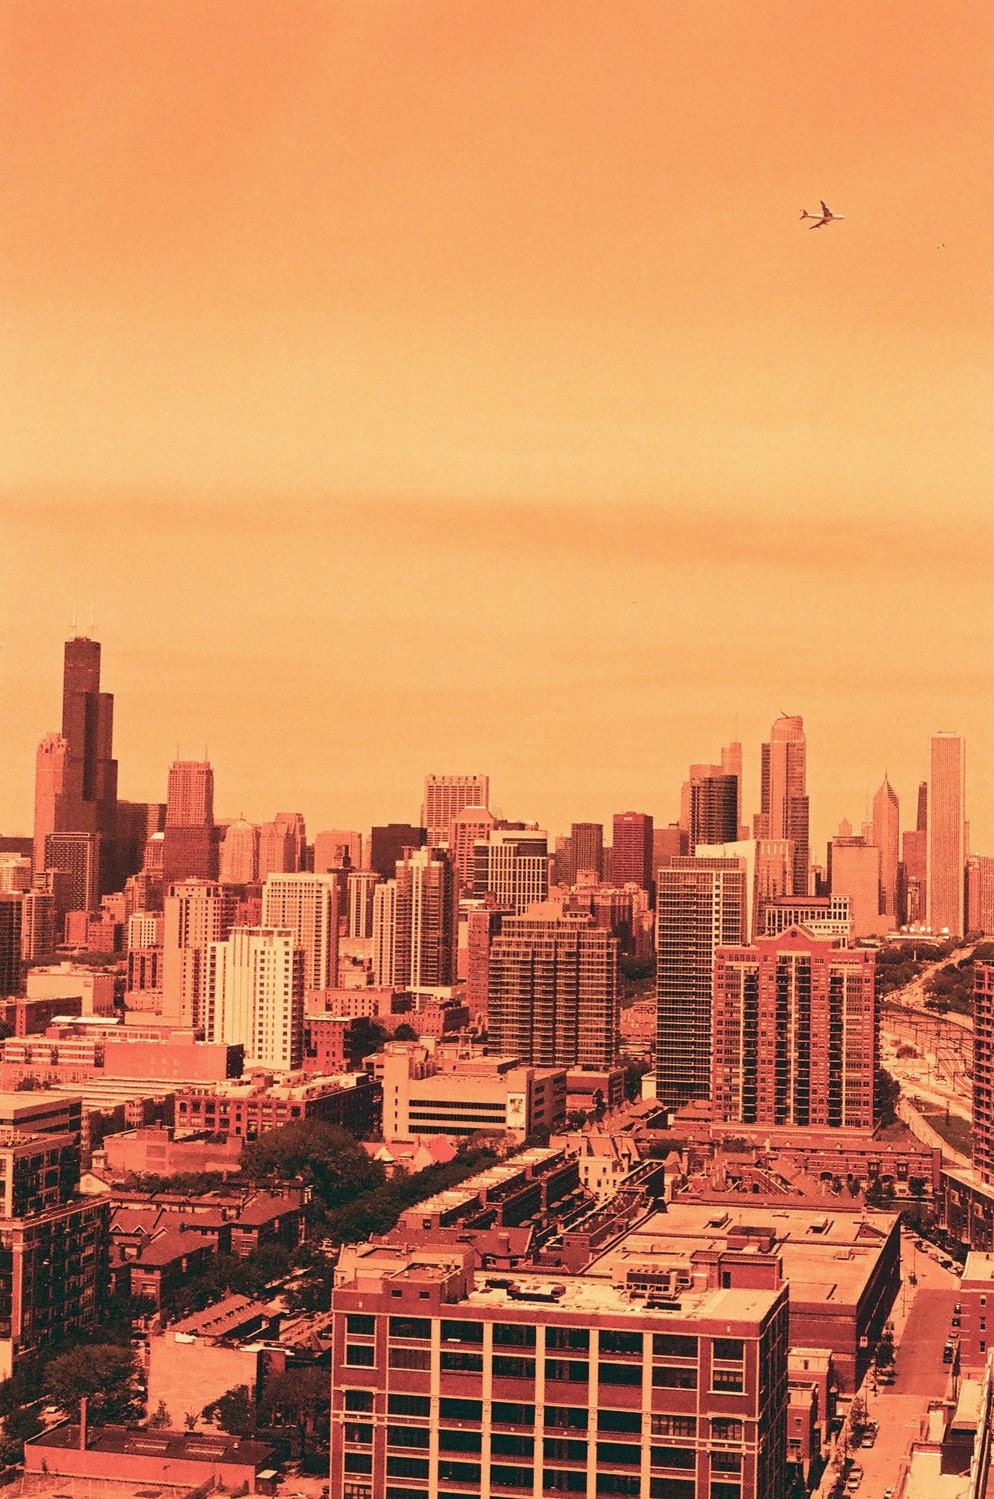
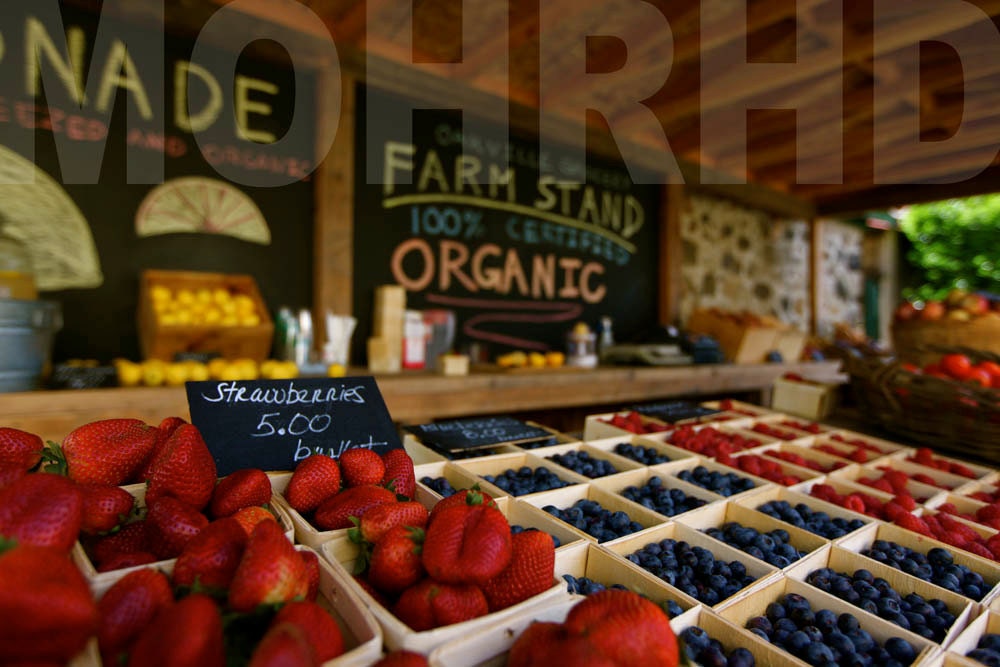
The last few weeks have been hectic! My husband and I are both just getting over a rather nasty cold. Good news? I think I found a person who will sell us their 10x10 canopy (in good condition) for $35 :) Why is this good news? We can now do outdoor CRAFT SHOWS! I'm so excited! Michigan, here we come!!! I am starting to research different shows...as well as go to them to see what we want to do next summer! My husband is going to participate as well! He has decided to try and sell his photography! He is SO talented! Rather than using a DIGITAL camera, the majority of his prints are OLD SCHOOL. He has a collection of vintage FILM SLR cameras. There's a lot of work that goes into the film photos...and i'm excited to share a few examples of his work:


Obviously, the print you'd receive would NOT have the watermark on it...that is just for his own protection while selling online :)

How much you ask? for the FILM prints he's selling them as such:

4x6 : $14.99
5x7: $19.99
8x10: $29.99

Digital prints (not yet available) would be a little less because, well, there's not as much work involved!

be sure to check out his Etsy Shop and his Website!

3.16.2011

Love at First Sight

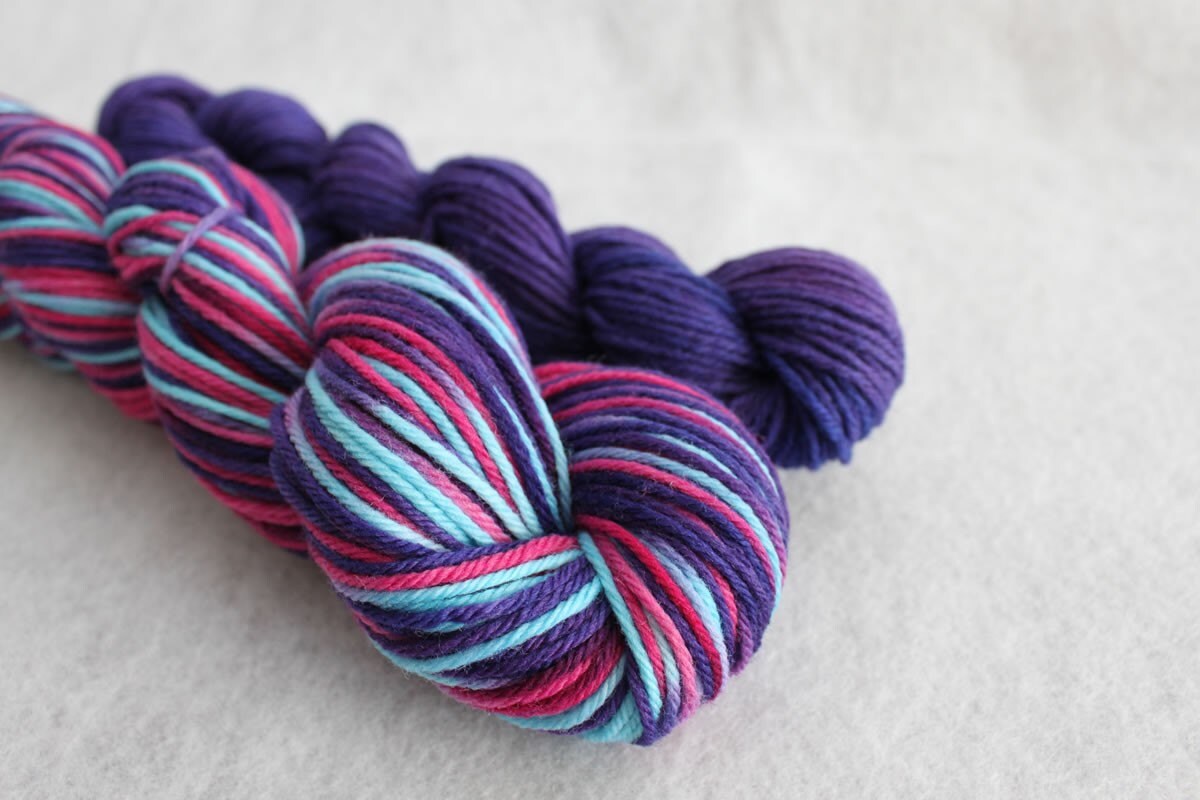
As many of you know by now, I have a yarn addiction. I have a hard time going into a store and leaving without having at least one skein of yarn in my hands! There are just so many varieties...it's hard to say no.


Recently the Michaels stores near me has clearanced some of my favorite yarns. I have bought 2 of each of these colors!! SO LOVELY!!! They're a bamboo and ewe mix! Thankfully, Jo-Ann's still carries these (and more colors) in store!


Also, a business card order came in the mail today! I had to cut them down and round off the edges. I really like how they came out! They're on their way to the Cayman Islands :)

3.11.2011

For Sale!

I'm sure some of you out there are hesitant to purchase on Etsy because you are currently required to make an account in order to do so. Can def. be a pain if you only plan on shopping there one time!

Well, yesterday I started to roll out a store on my Facebook Fan Page for Sara Nicole Designs! YEP! That's right. Right now you can only purchase my 3 top sellers through there, but more will be coming soon. All you have to do is go to my fan page, under the user photo on the left hand side is a set of links. Click "Shop Now".
How awesome?

3.09.2011

I've been enveloped

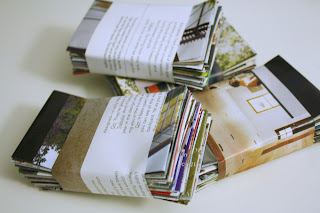
The last few days I've been busy making 200 business card envelopes. I use magazines I have collected over the years, trace out the pattern, cut them out and glue them together. It's quite time consuming and tedious...but the end result is so worth it!


These envelopes can be found in my shop in different quantities. I can always make more :) you just have to ask!

3.04.2011

I almost forgot...

I finished testing that hat pattern!

(*Please excuse the lack of makeup or anything on my face! lol)


Again, this pattern was created by Mamachee on Facebook. You can also find her on Etsy HERE.

Fiber Inspiration

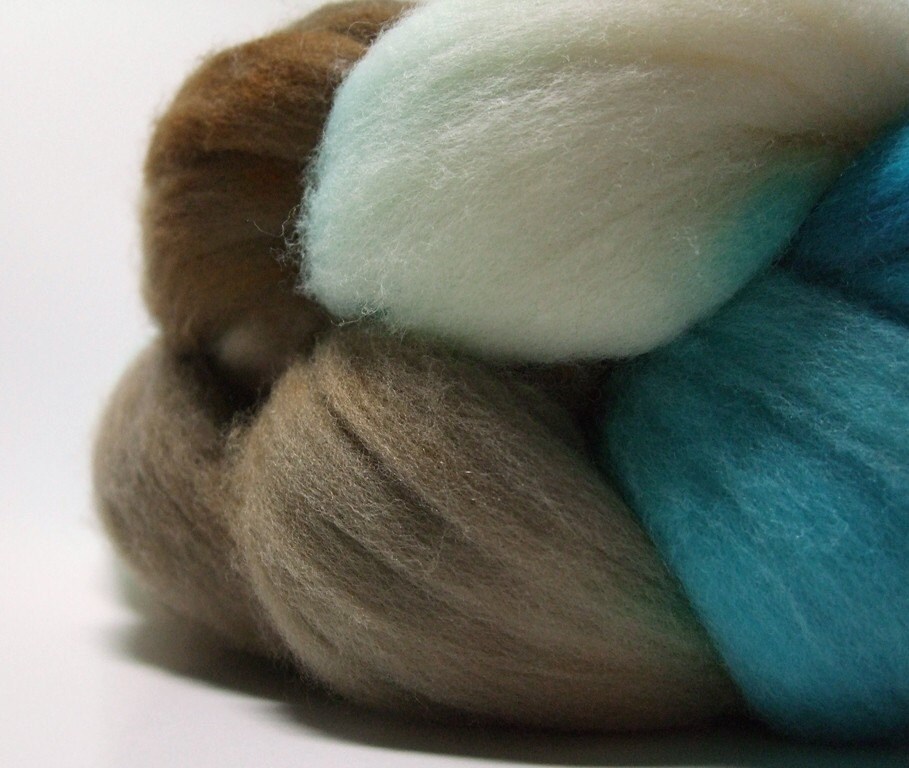
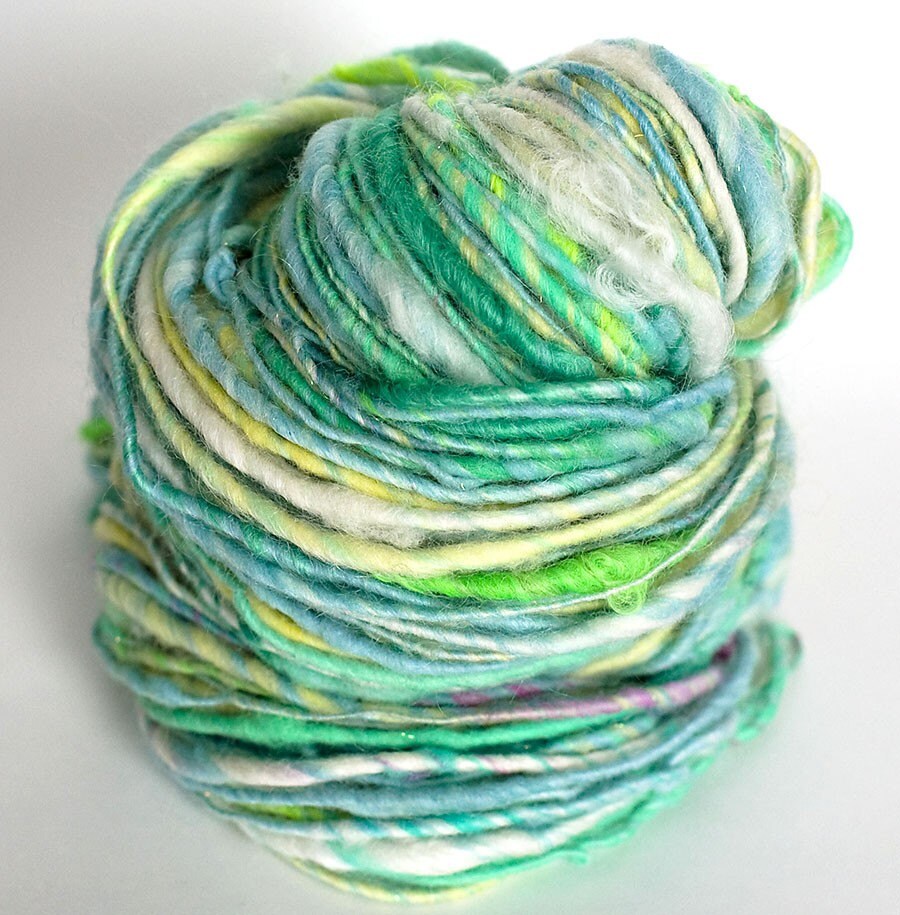
So, I have confirmed that I am addicted to yarn! I have SO much of it on hand right now. I can't stop buying it, however! I just keep finding LOVELY colors, textures and GREAT prices!

Check out some of my favorites I have found on Etsy. (Just click on the photo to go directly to the shop).


Ahhh...wasn't that just lovely? Now only if it was economical for me to purchase these gorgeous pieces. I think, for now, I need to use up my current stock!

3.02.2011

Way Over Due.

Sorry, I haven't posted in awhile. It's been a busy week. I've had a lot of orders come through my shop as well as helping out my husband with his weekend project. Right now I'm working on a custom bachelorette party package that includes a banner, cupcake toppers and a mini scrapbook album! It's in custom colors of grey and pink! Ugh! I'm sooooo incredibly in love with it!

Also, I'm working on testing a new pattern for Mamachee. This is the hat:


I'll post pics when I'm finished. Be sure to check out her Etsy Store for awesome patterns for sale!

Lastly, if you have NOT seen The King's Speech go do so RIGHT NOW! It won 4 Oscars, 1 Golden Globe and 2 Screen Actors Guild Awards!!! IT WAS AMAZING!!!


2.22.2011

I'm getting graphic


I started creating some Etsy shop store graphics! It's pretty fun! I'm interested in seeing how they do! What do you think of them?

You can click on the image to go right to the graphics!

2.08.2011

Time Moves Too Fast

This weekend the first round of auctions ended at Kumfy Kozies. A nice lady from Canada won her bids on my mini scrapbook and crochet baby booties!


She is giving these to an expecting mother as a shower gift! How cute are these? (Just an FYI crochet booties can be custom ordered Here and custom scrapbooks can be ordered here.

An Update:

I'm still working on my blanket...I figure it will take me awhile to make. It will require a bunch of yarn (money is pretty tight right now) and a lot of time!

I'm about halfway done with my basket! I decided that once I'm done crocheting it, I plan to felt it! I'm excited. This will be my first time EVER felting anything. I plan on lining it with a fabric as well...maybe.

I started crocheting a pillow cover for a bolster pillow I've had in my closet for a few years! It's going to be so bright, fun and cozy!


PLEASE PLEASE PLEASE
go to Kumfy Kozies right now and bid on the items available on this final auction. ALL proceeds go to a lovely family in need!

2.05.2011

How DID You Do That?

I thought I'd share how I made these lovely cards with you today


They are VERY simple to make but absolutely adorable.
Supplies:
Cardstock
old text paper
pretty papers (i used scrapbook papers)
glue
scissors or cutting board

Step 1

Cut the card stock to the size you want to create a card. For these I used an 8.5x11 and cut the short side down to 7 and the long side down to 10. Then I divided the long side in half (so you should end up with 2 sheets that are 5x7. Fold them in half so you have a 3.5x5 card.

Step 2

Cut out a strips of paper at 1.5 x 7.5. Glue them to the middle outside of your cards. Trim the excess off.

Step 3

Cut out any shape you want from you vintage text paper. I cut out a heart. Adhear it to the front of your card, centered.

Step 4

Cut out a smaller heart with another colored paper that is contrasting or coordinating to your stripe you glued on earlier.

TA DA!!! You have a VERY easy, inexpensive way of making some cards...or last minute valentines! You can easily skip step 1 buy purchasing a pack of blank cards at any arts & crafts store (ie Michaels, JoAnns, Hobby Lobby, etc). I used a stack of envelopes that I already had laying around for these cards. They're super cute.

If you'd like to see more pictures of them check them out here on my Etsy store.

Here are other cards I've made in a similar fashion. The sky IS the limit...